Tutorial on the interaction function details: Difference between revisions
No edit summary |
No edit summary |
||
| Line 8: | Line 8: | ||
2) Add the [[GFtbox#What does GFtbox require?|code illustrating why we chose Matlab]] into the first model. This is shown in <span style="color: Magenta">Magenta</span> in [[GPT_tut_interaction_20110530 second edit|GPT_tut_interaction_20110530 second edit]]. Note that it is in the space left for MODEL 1 and that MODEL 1 has been renamed 'NoPolariser'. <br><br> | 2) Add the [[GFtbox#What does GFtbox require?|code illustrating why we chose Matlab]] into the first model. This is shown in <span style="color: Magenta">Magenta</span> in [[GPT_tut_interaction_20110530 second edit|GPT_tut_interaction_20110530 second edit]]. Note that it is in the space left for MODEL 1 and that MODEL 1 has been renamed 'NoPolariser'. <br><br> | ||
3) Add the second model - new code is shown in <span style="color: MediumBlue">MediumBlue</span>. Notice that the polariser is set up in the same way for both models - but in the NoPolariser (first) model the growth rates parallel and perpendicular to the polariser are identical so the polariser gradient can have no effect. The final interaction function will look like [[GPT_tut_interaction_20110530 second edit|GPT_tut_interaction_20110530 second edit]]. | 3) Add the second model - new code is shown in <span style="color: MediumBlue">MediumBlue</span>. Notice that the polariser is set up in the same way for both models - but in the NoPolariser (first) model the growth rates parallel and perpendicular to the polariser are identical so the polariser gradient can have no effect. The final interaction function will look like [[GPT_tut_interaction_20110530 second edit|GPT_tut_interaction_20110530 second edit]]. | ||
{| border="0" cellpadding="15" cellspacing="3" | |||
|- valign="top" | |||
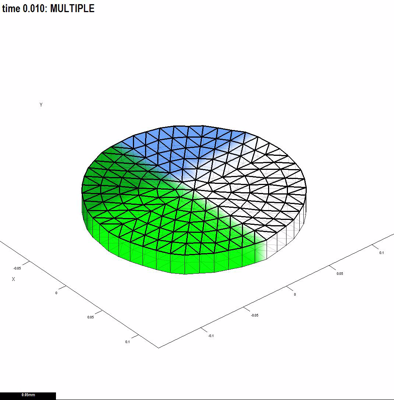
|width="300pt"|[[Image:GPT_why_matlab-2011-05-05-0005_First.png|250px|left|none|No Polariser]] | |||
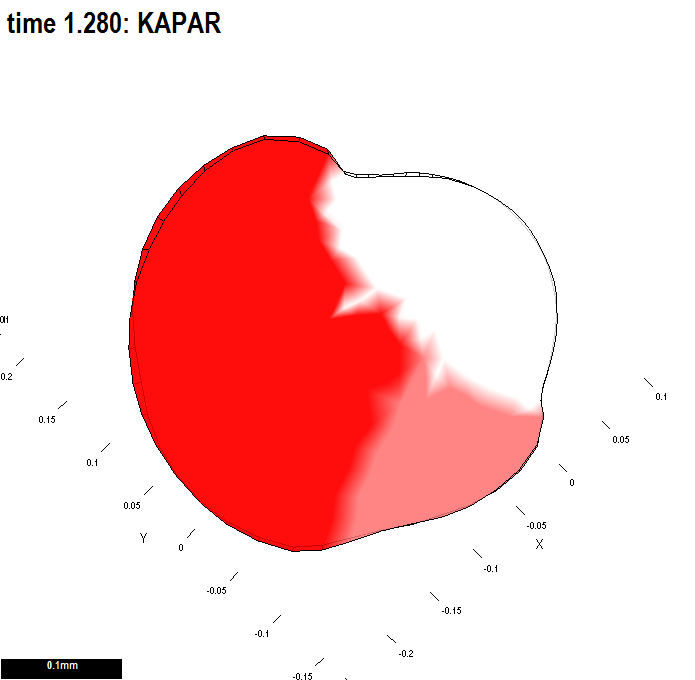
|width="300pt"|[[Image:GPT_tut_interaction_example_20110601-0002.png|250px|left|none|No Polariser]] | |||
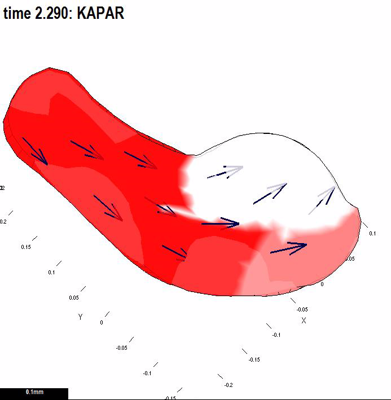
|width="300pt"|[[Image:GPT_tut_interaction_example_20110601-0006_Last.png|250px|left|none|No Polariser]] | |||
|} | |||
Revision as of 21:22, 2 June 2011
This is where I've got to with the tutorials
1) Create and save a new mesh exactly as for the basic interaction function. Next, add two new morphogens, id_a and id_b.
Having saved the project (here we call it GPT_tut_interaction_20110530), click Panel: Interaction function:Edit to automatically create the new interaction function. It is shown here.
There are lots of comments shown in green. These are designed to both help us structure our thoughts on the growth model and provide reminders of useful commands and syntax without having to dive into a manual.
The comments are easily removed - but for the moment we will leave them in.
2) Add the code illustrating why we chose Matlab into the first model. This is shown in Magenta in GPT_tut_interaction_20110530 second edit. Note that it is in the space left for MODEL 1 and that MODEL 1 has been renamed 'NoPolariser'.
3) Add the second model - new code is shown in MediumBlue. Notice that the polariser is set up in the same way for both models - but in the NoPolariser (first) model the growth rates parallel and perpendicular to the polariser are identical so the polariser gradient can have no effect. The final interaction function will look like GPT_tut_interaction_20110530 second edit.


